Copper Coil
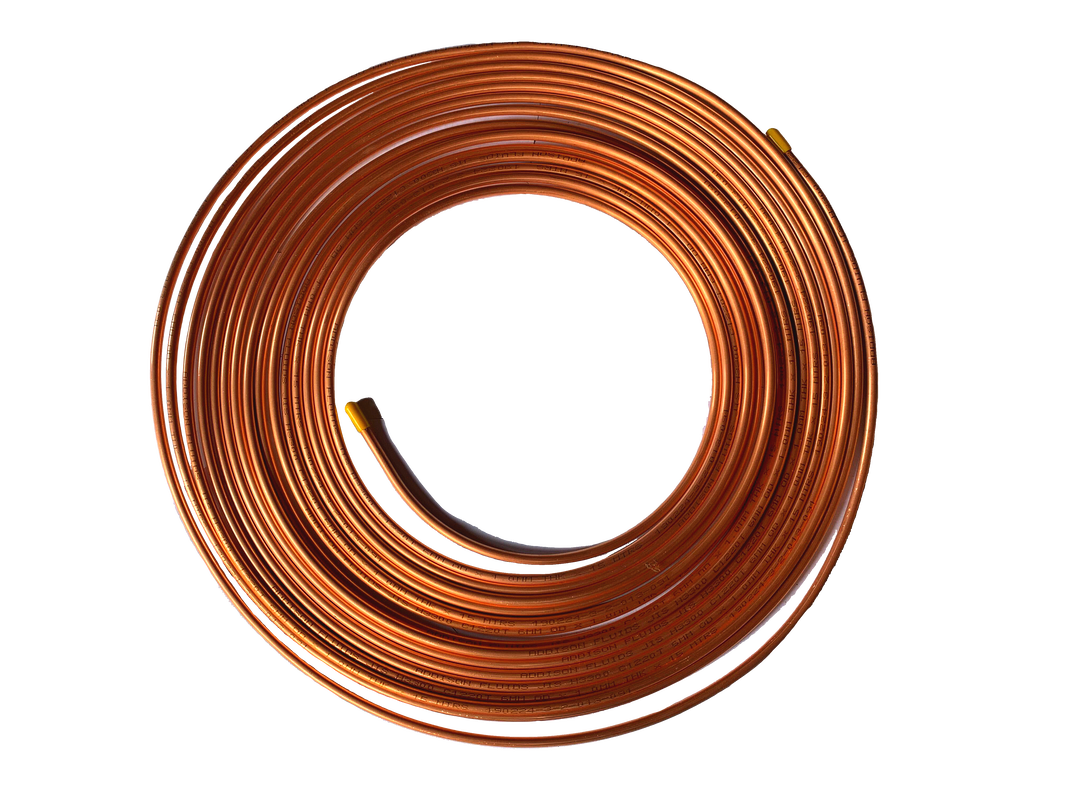
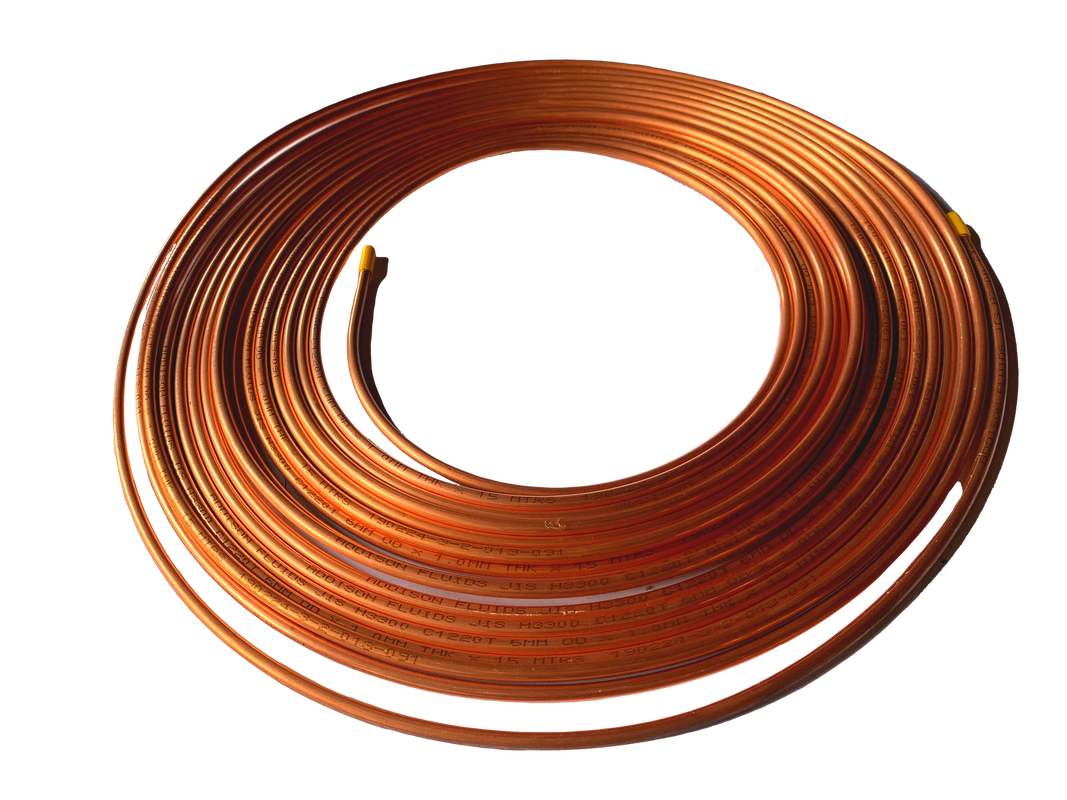
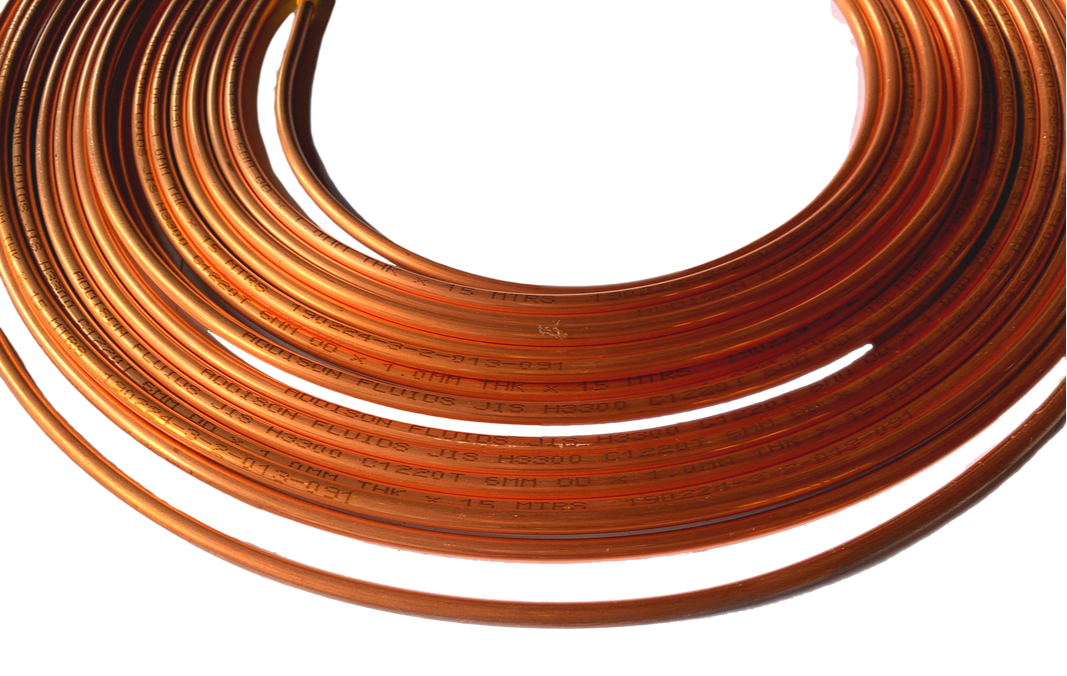
Copper coil is manufactured in accordance with the Japanese Industrial Standard, JIS H3300. The standard specifies in wrought copper and copper alloy seamless tubes and pipes that having a round section. As the copper coil is rolled up, it seems like a pancake and thus the name pancake copper coil.
There is a wide range of outer diameter size and wall thickness of copper coil that are available and the size selection is subjected to project requirement. Copper coil designed in metric (mm) and inches (“) size, the metric size ranges are measured from 6mm to 15mm, while available inches size ranges from 1/4” to 3/4”.
There is a wide range of outer diameter size and wall thickness of copper coil that are available and the size selection is subjected to project requirement. Copper coil designed in metric (mm) and inches (“) size, the metric size ranges are measured from 6mm to 15mm, while available inches size ranges from 1/4” to 3/4”.
Outer Diameter Size |
|
Material Specification |
|
Dimension Specification |
|
Finishing |
|
CATALOGUE :
What are Copper Pancake Coil?
1. What is copper coil?
Copper coil is commonly used in general plumbing, heating, ventilation and air-conditioning (HVAC) industry. It is a durable, reliable and economical material with good electrical conductivity amongst other metals. In addition, copper is superior for conveying liquid and it is applicable to heat exchanger, chemical industry, gas pipe and water supply.
Copper coil is commonly used in general plumbing, heating, ventilation and air-conditioning (HVAC) industry. It is a durable, reliable and economical material with good electrical conductivity amongst other metals. In addition, copper is superior for conveying liquid and it is applicable to heat exchanger, chemical industry, gas pipe and water supply.
2. What is copper coil chemical composition & mechanical properties?
|
The copper coil is produced under the material grade of C1220T and has a finishing of phosphorus deoxidized. Copper coil is deoxidized with phosphorus and so that the porosity can be cleared out and the copper oxide level can be decreased. As the copper tube has gone through the deoxidization process which is the removal of oxygen content, hence it can provide excellent flaring, bending and welding capability.
By having the oxygen content removed will lead to a better resistance to corrosion for the copper coil as well. The chemical composition under alloy C1220T grade is as below: |
Alloy Grade No C1220T |
Chemical Composition (%) Copper, Cu |
Chemical Composition (%) Phosphorus, P |
Min. |
99.90 |
0.015 |
Max. |
- |
0.040 |
Table 1: Chemical Composition of Grade C1220T
3. What is the difference between soft and hard copper?
|
The degree of strength and hardness of the copper coil is determined by its temper. It can be categorized into 2 different types of temper in the piping trade. Annealed tempered which normally referred as soft tube and drawn tempered which often referred as hard tube.
The copper coils carried in our product range are annealed tempered also known as soft type. Soft tempered type copper coil is frequently joined with flare type fittings and compression fittings during installation. It is also common for users to connect copper coils via soldering, brazing or welding by using capillary fittings too. |
4. What is copper coil used for?
|
It is economical and easy to install the copper coil. Copper coil is usually joined with capillary fittings through soldering or brazing processes. Soldering method is used in water lines plumbing and for sanitary drainage. Whereas, when greater joint strength is needed or when service temperatures are as high as 350°F (176°C), brazed joints of the copper coil with capillary fittings will be preferred. In addition, the installation of air-conditioning and refrigeration sector will usually use the brazing method instead.
|
5. How to install copper coil?
Capillary fittings are fittings that have a socket-type end which could help to close the tolerance gap between copper coil and the connecting fittings. When both copper coil and capillary fittings are cleaned and fluxed, they can form a small even gap between them upon assembly. As a result, when the solder is heated until it melts, the forces of adhesion and cohesion will cause the melted solder to flow into the capillary gap and a strong and watertight joint can be formed.
The method of making capillary joints involves the following steps:
Step 1: Measure and cut the copper coil to the length needed and make sure it is cut neither too short nor too long so that a proper joint can be achieved.
Step 2: The coil and capillary fittings need to be cleaned by using sand paper or steel wool. Once cleaned, a sufficient flux will be applied resulting in a thin coat on the mating surfaces. This is to prevent dust and dirt from contaminating the capillary gap. Once the copper coil and capillary fittings are fluxed, the joint is ready for heating.
Step 3: Heat the joint and the solder should melt when it is brought into contact with the coil. Continue the heating process if the solder does not melt. The capillary gap should be filled with sufficient solder all around the coil.
Step 4: Be aware that any excessive solder will lead to a bead formed at the bottom of the joint or there is a chance that it will run inside the coil along the system. There is a small hint on the length of solder needed for soldering on small tube diameters. A length of solder which approximately equals to the diameter of the tube should be enough to fill the joint.
Step 5: After the soldering is done and the joint has been made, allow them to be cooled down so the solder can solidify without any disturbance.
Step 6: Lastly, wipe the outer surface of the tube with a cloth to remove any excess of flux on it.
CATALOGUE :


